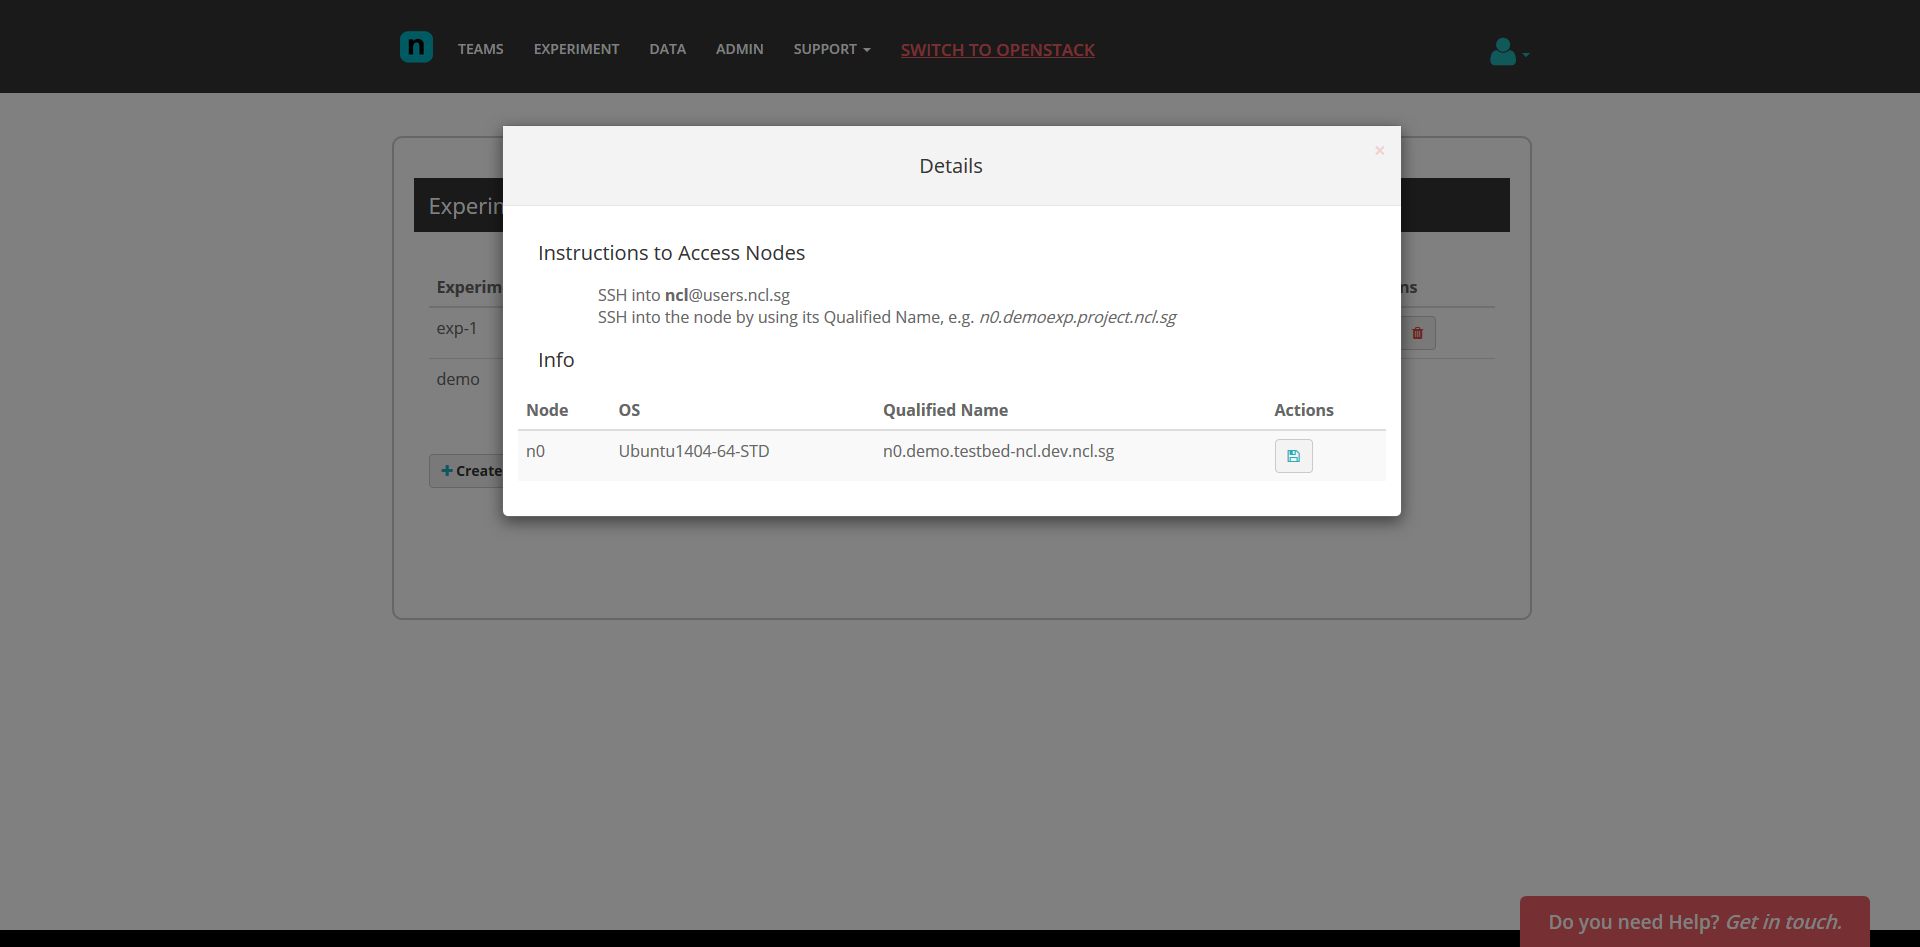
Click on “View” under Details to see more details about the started experiment
You will see a list of details about each of your experiment nodes.
Under the column “Actions”, click on one of the save image icon to save that particular node’s image.
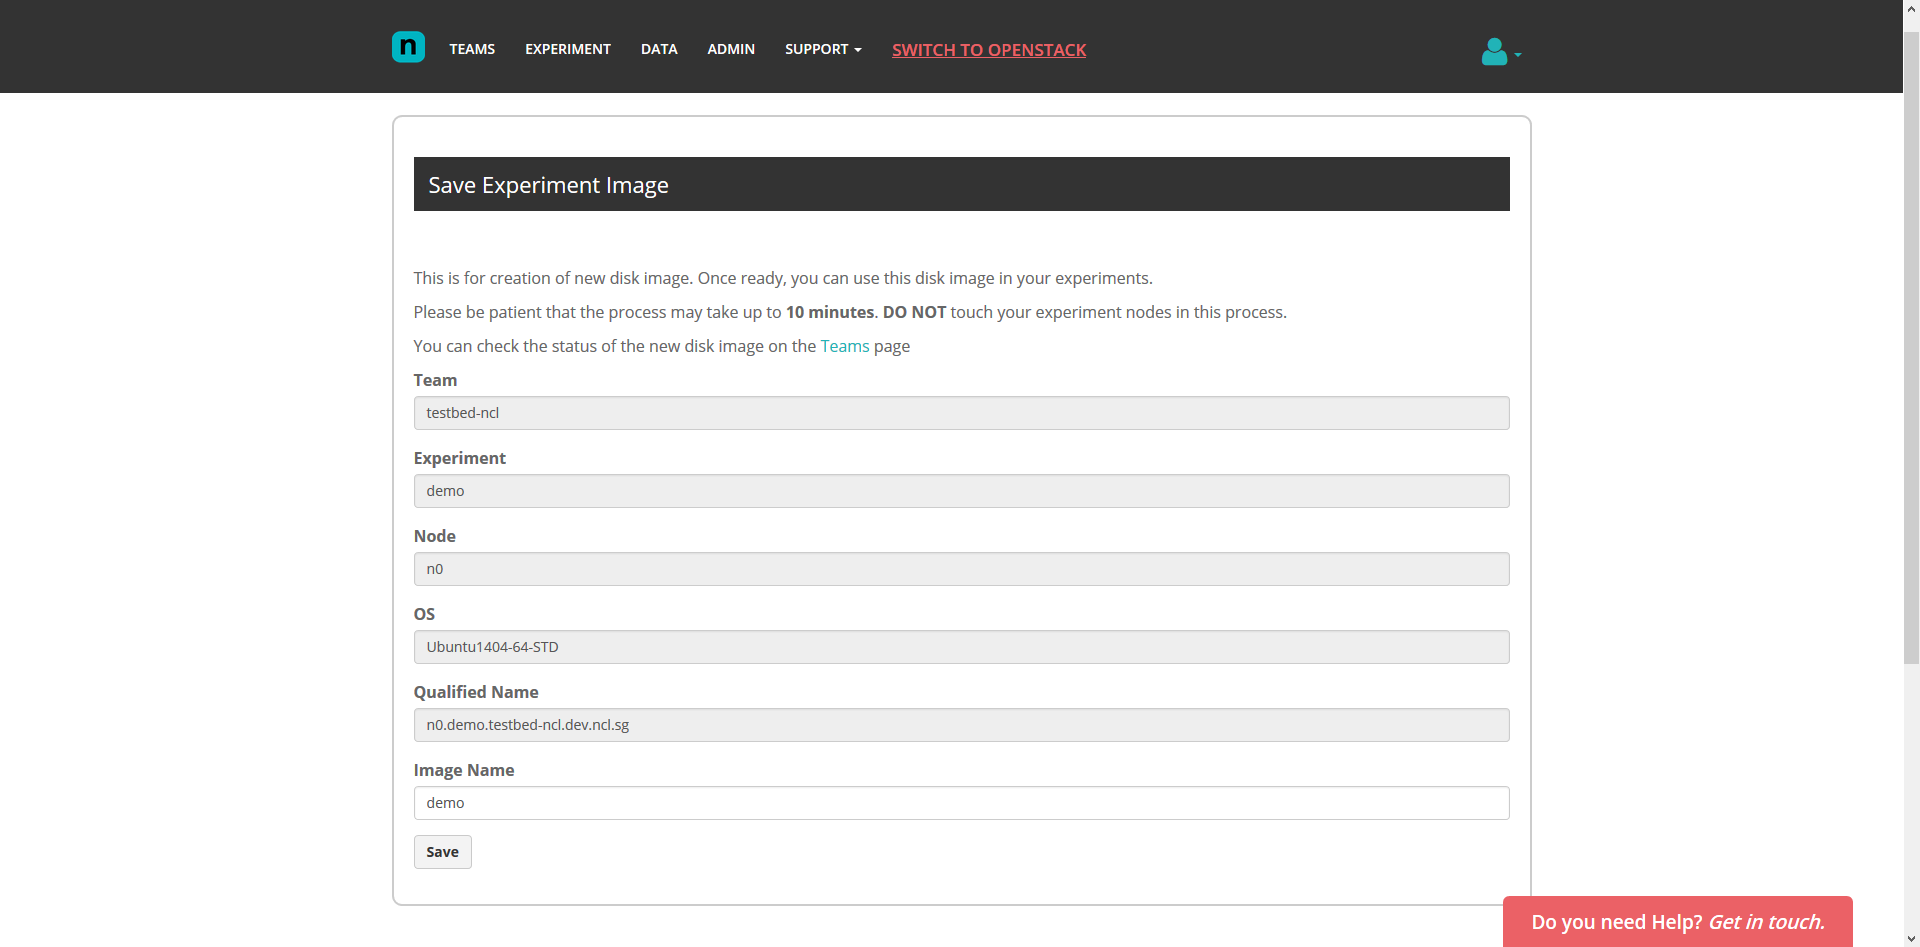
At the save image form page, enter a desired image name, e.g. demo, and submit
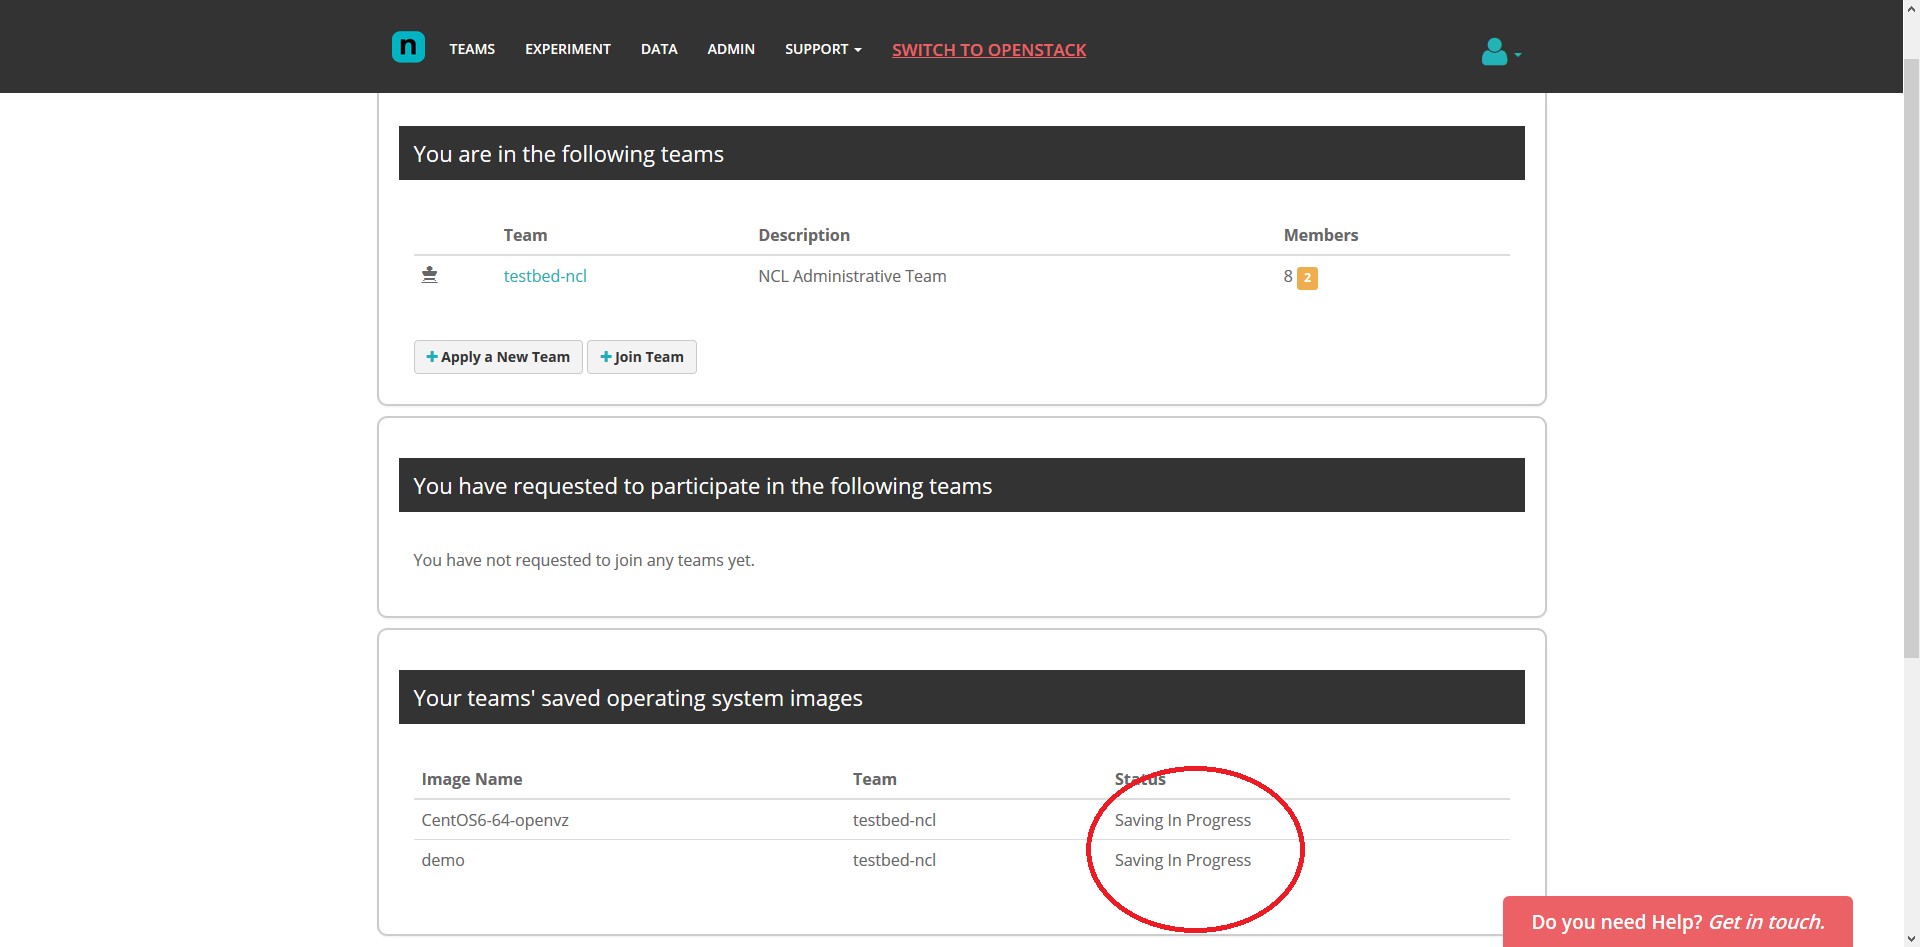
At the teams page, you will notice your newly created image name under the section “Your teams’ saved operating system images” with the status “Saving In Progress”.
The process may take up to 10 minutes depending on the scale of the experiment node, thus we advise our users not to stop the experiment while the image saving process is in progress.
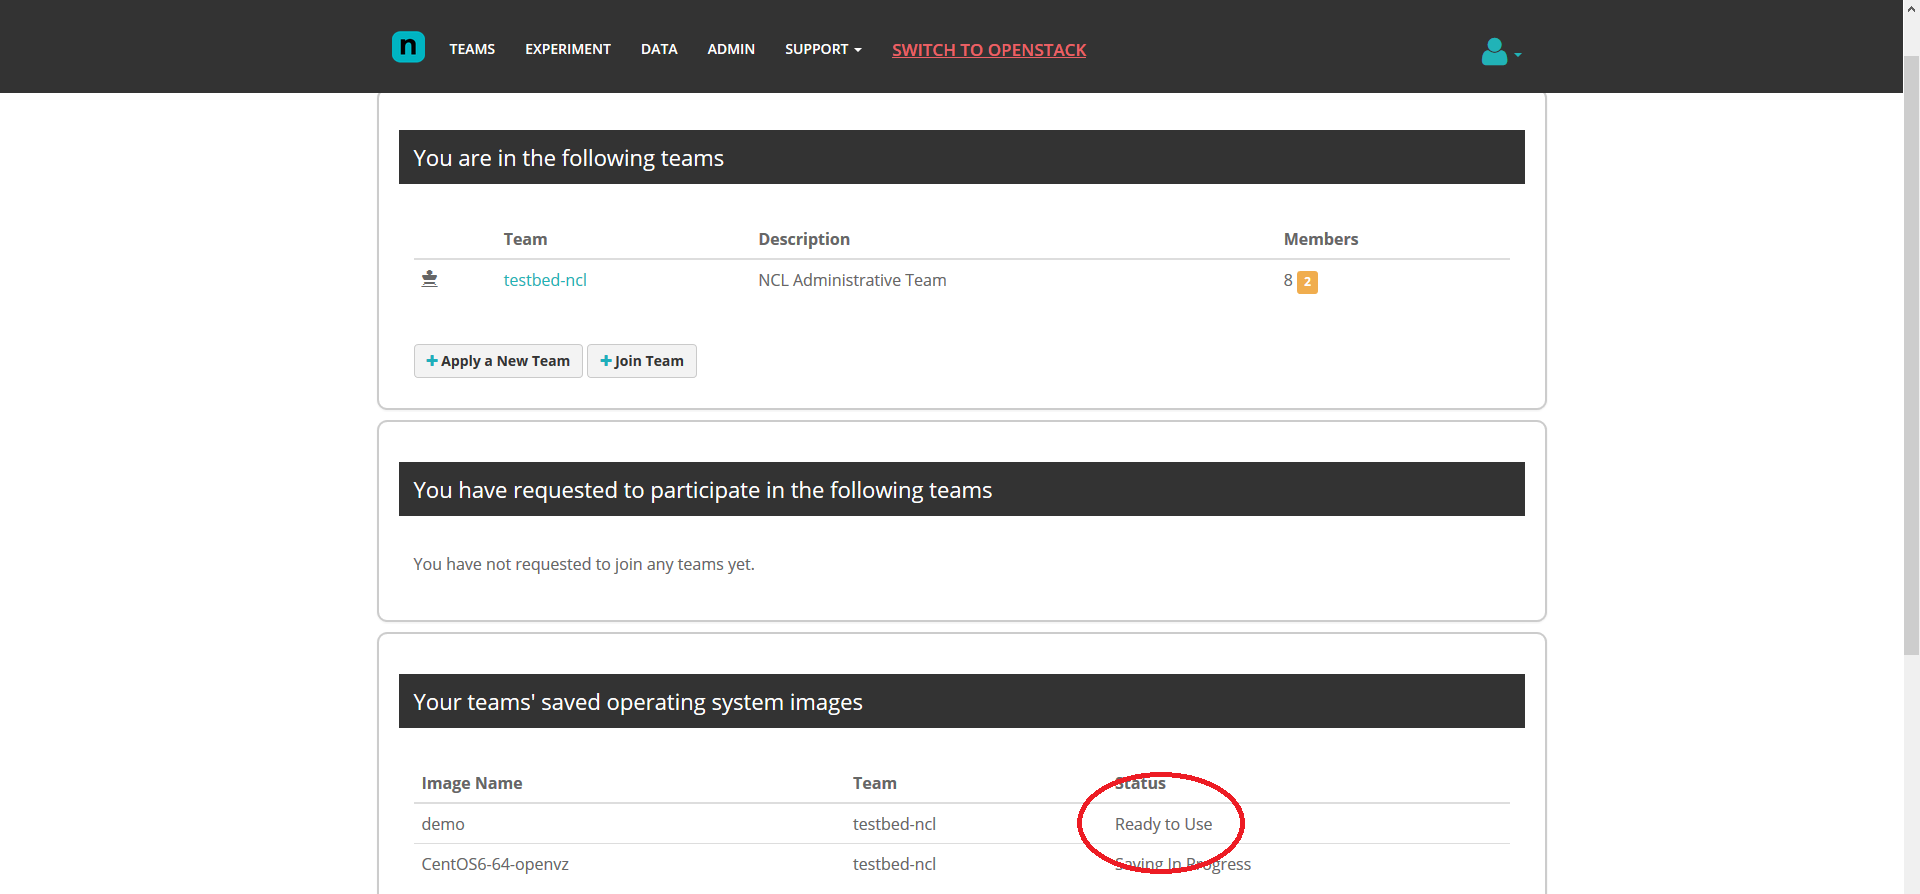
After around 10 minutes, the newly created image status should be in “Ready to Use” state.